After talking about brass consistency, neck tension, and when brass starts losing performance — the next logical question is:
How should you anneal?
Most people think they’re choosing a method.
In reality, they’re choosing how much control they have over the process.
Most people don’t actually choose between “methods” in a technical sense.
They choose between setups:
— hand-held flame (often drill + socket)
— flame with cases standing in water
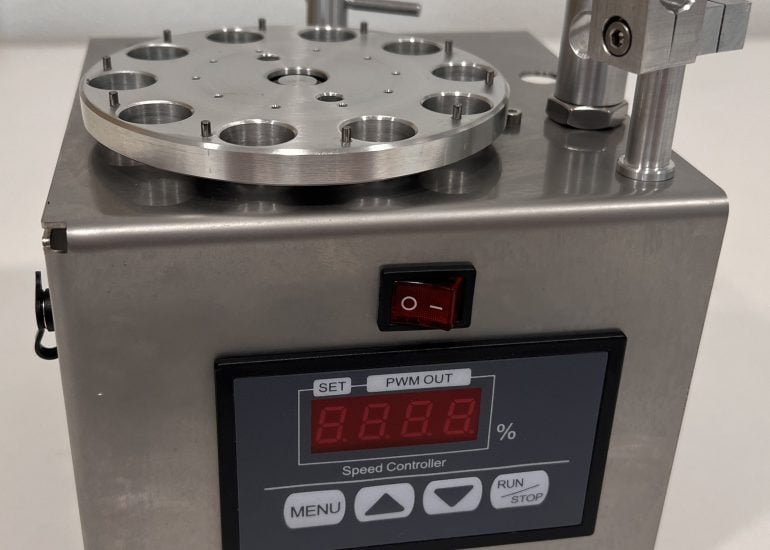
— purpose-built annealing machines
— induction systems
All of these use heat.
But that’s not what separates good results from bad ones.
What annealing is supposed to do
At its core, annealing has one job:
— bring the brass — specifically the neck — back to a consistent, repeatable state
Not softer for the sake of being soft.
Not glowing for the sake of color.
Consistent.
Because everything that follows depends on that:
— neck tension (what people refer to as neck tension)
— bullet release
— velocity
— group consistency
The part most people get wrong
A lot of people treat annealing like a visual process:
— watch the color
— count seconds
— heat until it “looks right”
And in some cases, that’s enough to get usable results.
But if you’re chasing consistency, that approach has limits.
Because what matters isn’t how it looks.
— it’s what actually happens to the brass
Common setups — and their limitations
Two common manual approaches are:
— rotating the case with a drill and heating with a flame
— standing cases in water, heating the neck, then tipping them over
Both can work.
But both depend heavily on the operator:
— distance to flame
— timing
— angle
— consistency from case to case
That’s where variation comes in.
For some people, that’s enough.
For consistent precision — not really.
The quenching myth
A lot of people believe that cases need to be dropped into water after heating.
They don’t.
Unlike steel, brass does not require quenching to set hardness.
Cooling rate doesn’t determine final hardness — temperature does.
Water is sometimes used for convenience or to keep heat away from the case head.
But it’s not what makes annealing work.
Where things start to break down
In practice, most problems come from lack of control:
— uneven heating
— inconsistent timing
— variation between cases
— operator-dependent results
That’s why many setups can produce “good enough” results —
but not repeatable ones.
What actually matters
Regardless of setup, a few things determine the outcome:
— consistent heat input
— consistent timing
— consistent positioning
— repeatability from case to case
If those are controlled:
— the setup becomes secondary
If they’re not:
— even a “correct” setup won’t give consistent results
What consistent results look like
When the process is controlled and checked with micro-Vickers measurements, a properly adjusted flame setup can produce repeatable hardness results, with only small variation between cases — typically in the range of roughly 3–6 HV between separate annealing batches.
That’s not about the setup itself.
— that’s about control and repeatability
What that tells you
When the process is done right:
— flame annealing can produce uniform results
— repeatability is achievable
— consistency can be maintained across cycles
And that’s the goal.
Not the setup —
but the consistency it produces.
What this means in practice
If your annealing process gives you:
— consistent seating force
— stable neck tension
— repeatable results on target
Then it’s doing its job.
If it doesn’t:
— the problem isn’t annealing
— it’s lack of control in the process
Where this leads
Once you understand this, the focus shifts:
Not:
“What method should I use?”
But:
— “Can I repeat the same result every time?”
At that point, the difference is no longer the setup —
it’s how consistently you can repeat it.
Next
In the next post:
— what happens when annealing is done wrong
— overheating, underheating, and uneven results
— how those mistakes show up in real use